Carpet Installation Guide
by Retro Spares
Step-By-Step Guide for Installing Car Carpet or Vinyl Flooring
Installing new carpet or vinyl is one of the best ways to freshen up the interior of your classic car. Whether you're restoring a Holden, Ford, Chrysler, Toyota, or another classic vehicle, proper installation helps achieve the best fit, finish, and long-term durability.
This guide covers the basic steps for fitting moulded carpet or vinyl flooring into your vehicle.
Before You Start
When your carpet or vinyl arrives:
- Open the parcel and check that all pieces are included
- Remove the carpet or vinyl from the packaging immediately
- Lay it flat in a clean, dry area before installation
- Allow moulded contours to relax back into shape
- Avoid leaving the product rolled up for extended periods
This helps improve fitment during installation.
Tools You May Need
Most installations can be completed using basic tools.
Recommended Tools
- Chalk
- Kitchen scissors
- Vacuum cleaner
- Basic hand tools
- Contact adhesive
These are commonly used when trimming, positioning, and securing carpet or underfelt.
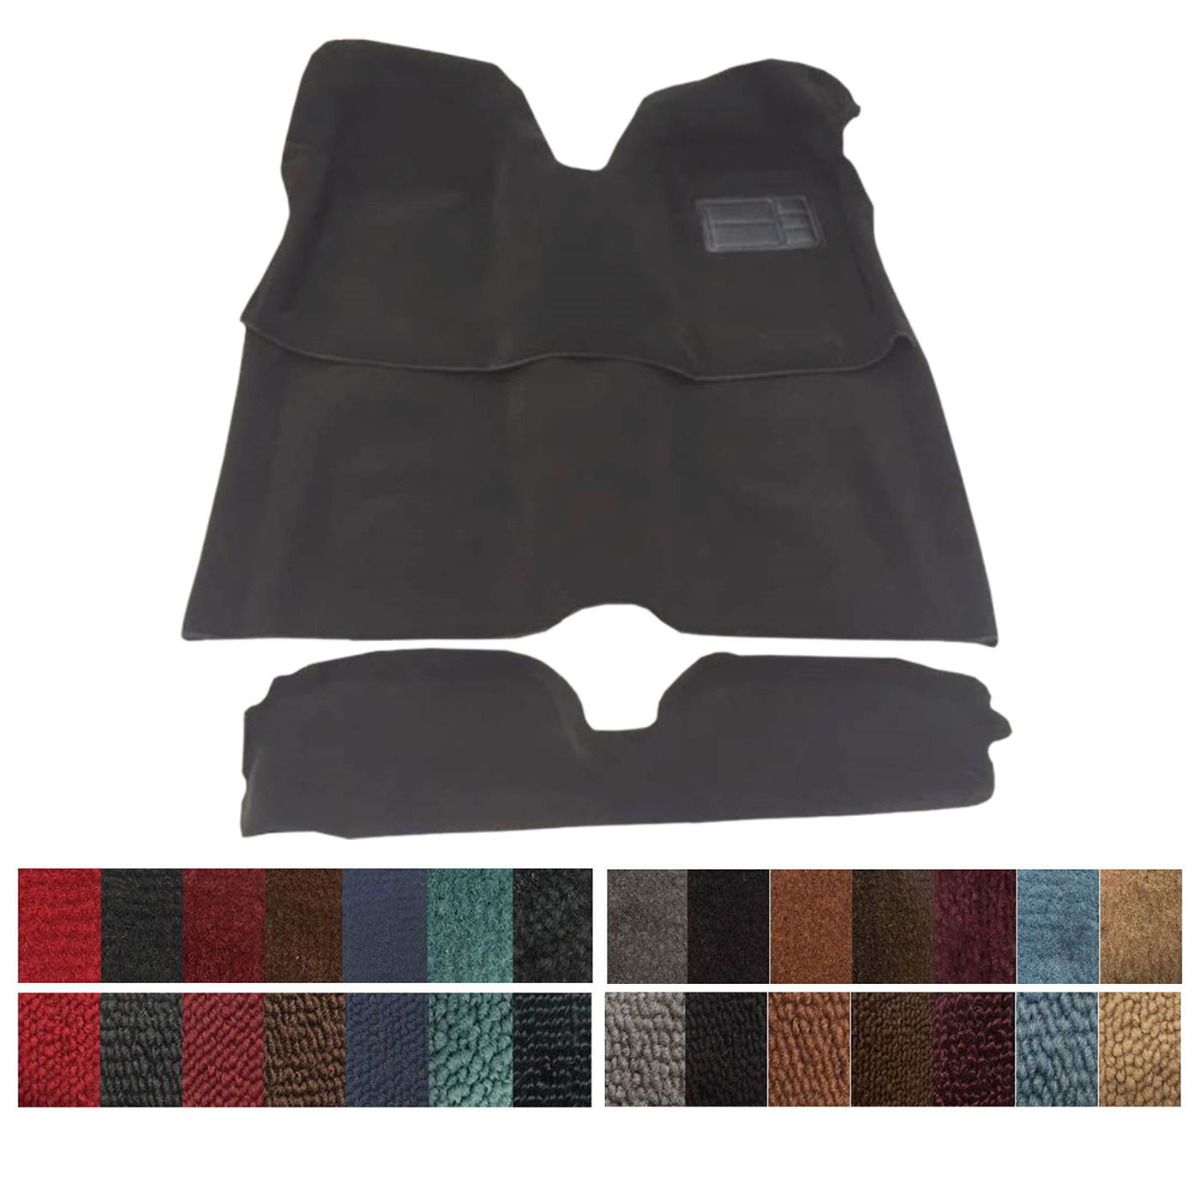
Understanding Carpet Layouts
Different vehicle types use different carpet configurations.
Sedan / Coupe Carpet Layout
Front Carpet
Fits between the firewall and finishes just behind the front seat mounts.
Rear Carpet
Runs from behind the front seat mounts to the rear seat area.
Boot Carpet
Fits inside the boot compartment behind the rear seat section.
Hatchback / Wagon Carpet Layout
Front Carpet
Fits between the firewall and finishes behind the front seat mounts.
Rear Carpet
Runs from behind the front seats to under the rear seat area.
Cargo Carpet
Covers the rear cargo section from behind the rear or middle seat.
Panelvan Carpet Layout
Front Carpet
Fits between the firewall and behind the front seat mounts.
Rear Carpet
Runs from behind the front seats to the rear wall section.
Single Cab Utility Carpet Layout
Front Carpet
Fits between the firewall and behind the front seat mounts.
Rear Carpet
Runs from behind the front seat mounts to the back wall.
Single cab utes require a rear carpet section to cover the full floor pan area.
Preparation Before Installation
Proper preparation makes installation much easier and helps achieve the best result.
1. Let the Carpet Settle
Lay the carpet or vinyl flat in a clean workspace and allow it to settle before fitting.
2. Remove Interior Components
Remove:
- Front and rear seats
- Door sill plates
- Kick panels
- Seat belt bolts
- Centre console (if fitted)
- Any trims securing the original flooring
3. Remove the Old Carpet
Carefully remove the old carpet or vinyl.
Tip: Keep the original carpet to use as a reference template during installation.
4. Clean the Floor Thoroughly
Before installing the new carpet:
- Vacuum the floor completely
- Remove debris and dust
- Check the location of original underfelt before removing it
A clean surface helps the carpet sit correctly.
Installing Carpet or Vinyl
1. Use the Old Carpet as a Template
Lay the old carpet over the new carpet or vinyl to help identify:
- Seat mounting holes
- Gear stick openings
- Console bracket locations
- Seat belt
2. Mark Cutouts Using Chalk
Mark all holes and cutouts using chalk only.
Do not cut immediately.
Chalk can easily be removed later with a damp cloth if adjustments are needed.
3. Install Underfelt
If replacing or reinstalling underfelt:
- Position it in the same location as factory fitted
- Ensure it follows the floor contours correctly
- Avoid covering mounting holes or fittings
4. Check Carpet Pieces
Most carpet kits are supplied in:
- Two-piece layouts
- Three-piece layouts
- Front and rear sections
- Sometimes additional centre sections depending on the model
Check the shape and moulding of each section before installation.
5. Fit the Rear Section First
Begin with the rear carpet section:
- Centre it over the transmission tunnel
- Work outward toward the edges
- Smooth contours into place
6. Install the Front Section
Next, fit the front carpet section.
Align the moulded contours with:
- Floor pan shape
- Transmission tunnel
- Firewall area
7. Cut & Trim Carefully
Once everything is aligned correctly:
- Carefully cut marked holes using kitchen scissors
- Trim edges where required
- Carpet pieces are intentionally oversized to allow final adjustments
Take your time here. Small cuts are easier to enlarge later if needed.
Underfelt Installation Guide
Proper underfelt installation is important for both comfort and carpet fitment.
Benefits of Underfelt
- Helps reduce road noise
- Improves heat insulation
- Adds comfort underfoot
- Helps carpet sit more evenly
Installing Underfelt
- Fit underfelt in the same positions as factory fitted
- Use contact adhesive to secure it to the floor
- Adhesive is commonly available from Bunnings or Mitre 10
- Only a few glue points are needed to hold it in place
- Ensure the underfelt follows floor contours smoothly
Avoid interfering with mounting holes or fittings.
Reassembly
Once the carpet or vinyl is fitted correctly, reinstall all removed components:
- Rear seat base
- Seat belt bolts
- Front seats
- Centre console
- Door sill plates
- Kick panels
- Interior trims
Double-check all bolts and fittings before driving the vehicle.
Installation Tips & Advice
Correct carpet installation makes a huge difference to the appearance and comfort of your vehicle interior.
Taking the time to properly prepare the floor, position the carpet correctly, and trim carefully will help achieve the best possible finish for your restoration or project vehicle.
If you have questions about fitment, underfelt, or choosing the right carpet for your vehicle, contact the team at Retro Spares for assistance.